How to Replace a Binding Machine Punching Die: A Step-by-Step Maintenance Guide
A dull punching die doesn't just ruin a single document; it compromises your professional reputation before a client even reads the first page. When your high-end Rhin-O-Tuff or Akiles unit begins producing jagged, incomplete holes or jamming mid-cycle, it's easy to feel anxious about the potential for permanent mechanical damage. You've invested in professional-grade hardware to achieve a specific standard of excellence, and seeing that quality slip is a legitimate concern for any specialist who values precision. Nobody wants to see a heavy-duty machine sidelined by a component that is intentionally designed to be maintained and replaced.
Learning how to replace a binding machine punching die is the most effective way to protect your equipment investment and eliminate frustrating production downtime. This guide will teach you how to safely identify wear, remove the existing die set, and install a new one with the quiet confidence of a seasoned pro. We'll walk through the entire calibration process, from initial inspection to the first crisp punch, ensuring your assembly reflects the high quality of the work contained within. By following these methodical steps, you'll gain the technical knowledge to maintain your equipment's performance and ensure a perfect finish on every project.
Key Takeaways
- Identify the early warning signs of a failing die, such as jagged hole edges or increased motor strain, to protect your equipment from permanent damage.
- Master the professional procedure for how to replace a binding machine punching die to restore the crisp, clean finish your documents require.
- Implement critical safety measures and workstation organization to handle heavy-duty die sets without risking injury or hardware misalignment.
- Solve common post-installation challenges like oil spotting and half-punches to ensure your machine returns to peak performance immediately.
Recognizing the Signs: When to Replace vs. Sharpen Your Die
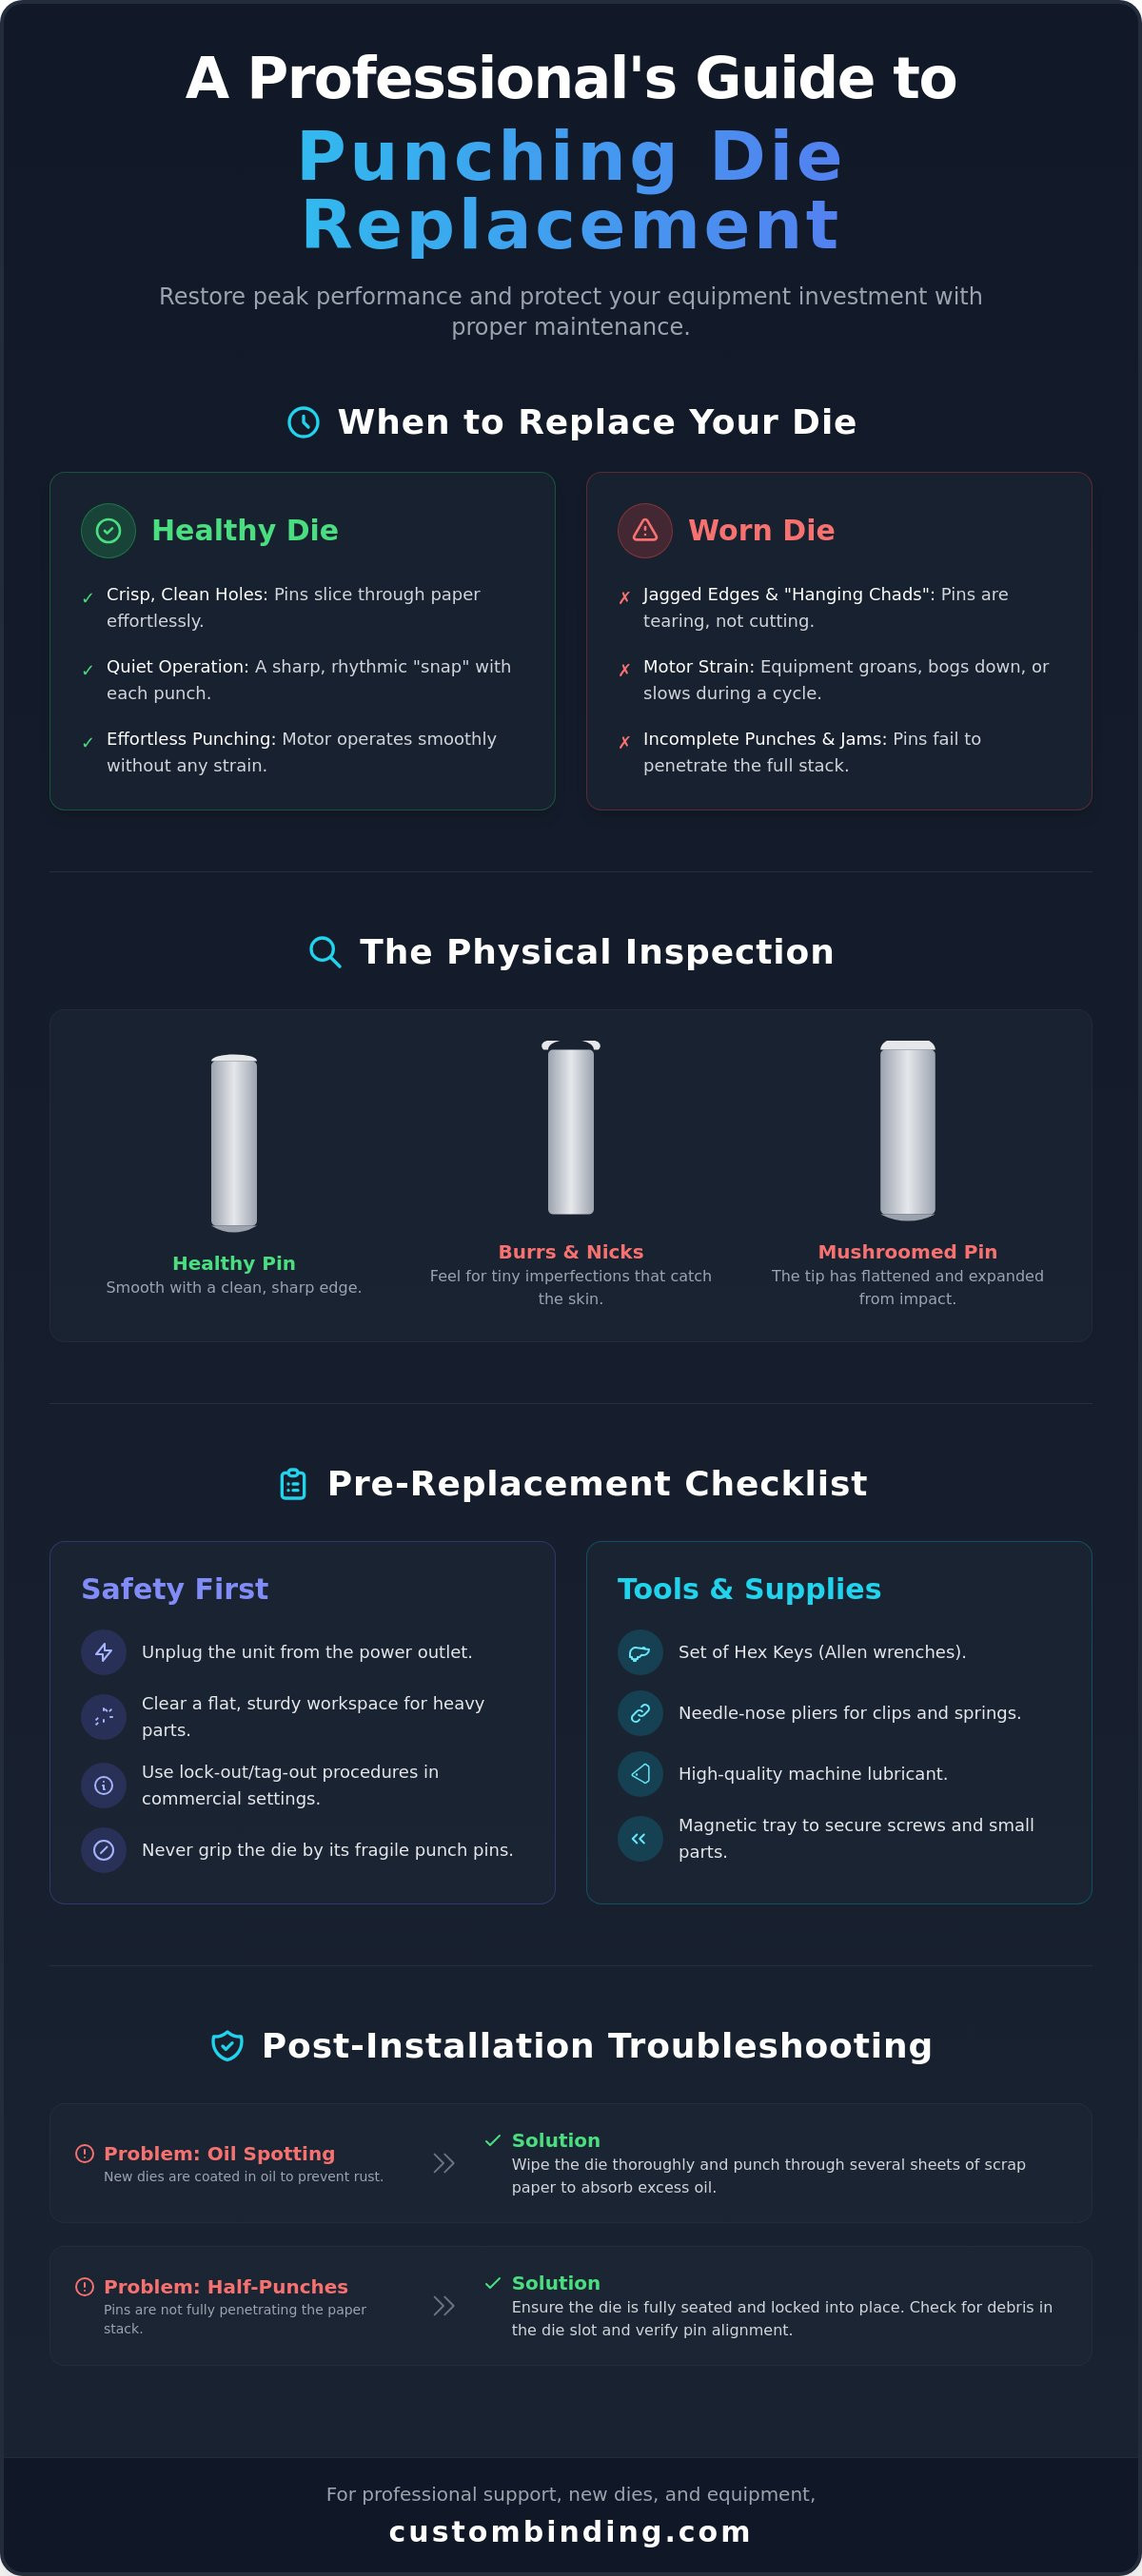
A precision-engineered punching die is the heart of any high-volume finishing operation. Over time, the repeated mechanical stress of the bookbinding process inevitably dulls the cutting edges of the steel pins. You'll first notice this degradation through the quality of the output. Jagged hole edges or "hanging chads" on the reverse side of your documents indicate that the pins are tearing the fibers rather than slicing through them. This isn't just an aesthetic issue; it's a sign that your machine is working harder than it should to achieve basic results.
Listen closely to your equipment during operation. A sharp die set produces a crisp, rhythmic "snap" with every cycle. If your motor sounds bogged down, groans, or noticeably slows during the punch, the resistance from dull pins is creating excessive torque. You should also watch for incomplete punches where the pins fail to penetrate the final sheet of a stack. Frequent paper jams within the die throat are another red flag, as dull pins often pull paper fibers into the internal mechanism. When you reach this stage, understanding how to replace a binding machine punching die becomes essential to prevent a total mechanical failure and costly motor repairs.
The Physical Inspection: Looking for Burrs and Nicks
Begin by safely removing the die set for a closer look under bright, direct light. Run your finger carefully across the pin tips to feel for tiny burrs or nicks that catch the skin. Look specifically for "mushroomed" pins, where the striking surface has flattened and expanded through repeated impact. These deformed pins create intense friction and heat, which can eventually warp the die guide or damage the internal return springs. While minor dullness can sometimes be corrected through professional sharpening, deeply nicked or mushroomed pins usually require a full die replacement to restore the factory-level precision your professional presentations demand.
Material Impact on Die Longevity
The materials you choose significantly dictate the lifespan of your hardware. While standard 20lb bond paper serves as the industry benchmark for measuring die life, specialty stocks accelerate wear at a much faster rate. Punching Clear Acetate Covers or dense Regency Composition Covers requires significantly more force than standard paper. If your team consistently punches at the maximum rated sheet capacity of a heavy-duty machine, expect the die's effective lifespan to decrease significantly. Managing these high-density materials with care ensures you won't need to learn how to replace a binding machine punching die prematurely, but being prepared for that inevitable swap is part of maintaining an efficient, well-oiled production process.
Pre-Replacement Checklist: Tools and Safety Measures
Establishing a methodical workspace is the first step in any successful equipment overhaul. Before you begin the process of how to replace a binding machine punching die, you must secure the environment. Unplug the unit from the wall outlet immediately. This isn't just a recommendation; it's a non-negotiable safety requirement to prevent accidental activation while your hands are near the internal drive assembly. Clear a flat, sturdy area near the machine to house your components. Heavy-duty dies, such as those used in a Rhin-O-Tuff Onyx HD7700, can weigh upwards of 15 pounds. You need ample room to set these components down without risk of them rolling or falling.
Organization prevents the frustration of lost hardware. Use magnetic trays to secure small screws, washers, and proprietary springs. Losing a single tension spring can turn a thirty-minute maintenance task into days of machine downtime. Gather your tool inventory before opening the access panels. You'll typically need a set of hex keys, needle-nose pliers for reaching deep-set clips, and a high-quality machine lubricant. If you're unsure about the specific requirements for your model, consulting with a specialist at Custom Binding Products can provide the clarity needed to proceed safely.
Essential Safety Protocols
In commercial print environments, follow standard lock-out and tag-out procedures to ensure no one else attempts to power on the machine. When handling the die set, always grip the solid metal casing or the provided handles. Never grip a die by the pins; these are the most fragile components and are easily bent or misaligned. Additionally, locate and protect the punch sensors. These delicate electronic eyes often sit near the die slot and can be easily scratched or knocked out of alignment during the swap process. Maintaining the cutting edge of your system requires protecting these secondary components just as much as the die itself.
The Required Toolkit for Binding Maintenance
Check your machine’s origin to determine if you need standard or metric tools. Equipment like the Akiles CoilMac-M typically requires metric hex keys, while GBC models often utilize standard SAE sizes. Keep a bottle of high-viscosity "die oil" or specialized punch lubricant on hand. New dies often arrive with a protective coating, but a fresh application of lubricant on the guide pins ensures a smooth transition and prevents "binding" during the first few cycles. Finally, keep compressed air and microfiber cloths nearby. Use them to clear out any accumulated paper dust or old grease from the die slot before the new unit is seated. This simple cleaning step prevents debris from causing friction or misalignment in your newly installed hardware.
Step-by-Step Guide to Swapping a Punching Die
Executing the mechanical swap requires a steady hand and a methodical approach to ensure the new hardware integrates seamlessly with the drive assembly. Once you've secured the workspace as discussed in the previous section, open the access panel or release the locking handles. On heavy-duty units like the Rhin-O-Tuff Onyx HD7700, these handles are typically located on the side and must be fully disengaged to release the die's tension. Carefully slide the old die out of the machine. Always support the weight from the bottom as the unit clears the guide rails to prevent it from dropping onto the internal frame, which could damage the punch sensors.
Before inserting the replacement, clean the internal die channel thoroughly. Accumulated paper dust and old, thickened grease can create friction points that lead to premature wear. Use compressed air to blow out the slot and wipe the guide rails with a microfiber cloth. Apply a thin, even layer of high-quality machine lubricant to the new die pins. This lubrication is vital for a smooth transition and prevents the pins from sticking during the initial "break-in" period. When you understand how to replace a binding machine punching die correctly, this preparation step becomes second nature, ensuring the longevity of both the die and the motor.
Model Specifics: Rhin-O-Tuff Onyx vs. Akiles Systems
The procedure varies slightly depending on your specific hardware architecture. The Rhin-O-Tuff HD7700 utilizes a patented quick-change system where the entire die assembly slides out as a single cartridge, making it one of the most efficient systems for high-volume environments. In contrast, manual units like the Akiles CoilMac-M may require you to pull or replace individual pins to change patterns or maintain the set. Regardless of the brand, you must ensure the eccentric shaft or swing arm is at the very top of its stroke before attempting removal. If the drive pins are even partially engaged with the die, the unit will remain locked in place, and forcing it can cause permanent misalignment.
Verifying the Seat and Alignment
Slide the new die into the slot until you feel it reach the back stop. Perform a "finger test" by running your hand along the seam where the die meets the machine frame; the transition should feel perfectly flush without any protruding edges. Double-check that the locking pins or handles have clicked fully into place to prevent "die walk," a common issue where machine vibrations cause the die to shift during operation. Only after you've verified the seat should you re-engage the safety interlocks. Adhering to these steps ensures your process aligns with OSHA machine safety requirements for point-of-operation guarding. Mastering how to replace a binding machine punching die with this level of detail guarantees a professional result every time you restore power.
Troubleshooting Common Issues After Die Installation
Successfully completing the physical swap is a significant milestone, but your work isn't finished until the machine is fully calibrated. One of the most frequent surprises for users after learning how to replace a binding machine punching die is the appearance of oil spots on their first few documents. This isn't a defect; it's a byproduct of the protective lubricants used during manufacturing to prevent rust. Beyond cleanliness, you must also monitor for mechanical resistance. If you encounter a "half-punch", where the pins penetrate the paper but fail to retract fully, the issue often stems from a lack of lubrication or a slight misalignment with the eccentric drive shaft. A rhythmic "clunking" sound is another critical warning sign. This usually indicates that the die isn't seated perfectly flush against the machine frame, causing the drive pins to strike the die head at an angle. If you continue to struggle with mechanical resistance after a fresh install, it's best to consult the specialists at Custom Binding Products for a professional diagnostic.
The Break-In Period: The First 50 Punches
New dies are shipped with a heavy coating of factory oil to prevent oxidation during transit. This lubricant will transfer to your paper if you don't clear it first. Dedicate at least 50 sheets of scrap 20lb bond paper for a break-in run. As you cycle the machine, listen for harmonic changes in the punch stroke. The sound should transition from a tight, sharp crack to a smoother, consistent thud as the pins and guide holes settle into their natural alignment. Never commit to a high-value project immediately after a swap. The risk of an oil-stained cover is too high during this initial phase.
Alignment and Margin Calibration
Every die set has unique tolerances. Even if you've mastered how to replace a binding machine punching die, you must still recalibrate your side guides to ensure the hole pattern is perfectly centered on your sheet. Check your depth-of-punch margin settings as well. A deeper margin is often necessary for larger Plastic Spiral Binding Coils to ensure the pages turn freely without tearing. Finally, test every disengageable pin. Pull each pin out and push it back in to confirm it holds its position securely. A pin that slips back into the punch position mid-job can ruin an entire stack of Regency Composition Covers, wasting both time and expensive materials.
Maintaining Your Equipment: Professional Support in San Diego
Maintaining a high-performance binding machine requires more than just reactive fixes. While mastering how to replace a binding machine punching die is a critical skill for any production manager, the goal should always be to maximize the interval between these replacements. Consistent maintenance prevents the microscopic friction that eventually leads to dull pins and motor fatigue. One of the simplest yet most overlooked tasks is managing the waste drawer. If you allow paper chips to accumulate until the drawer is overflowing, those "chads" create significant back-pressure against the bottom of the die. This pressure forces debris back into the die throat, which can bend pins or cause the drive assembly to seize entirely. Emptying this drawer daily is the easiest way to preserve the precision of your hardware.
Preventative Maintenance Schedule
Your maintenance frequency should mirror your monthly punch volume. For shops producing daily presentations, follow this specialized cadence to ensure zero downtime:
- Weekly: Use compressed air to clear the die throat of paper dust. Apply a drop of high-viscosity lubricant to the main drive assembly to ensure fluid mechanical movement and prevent heat buildup.
- Monthly: Conduct a visual inspection of the pin retraction springs. Look for signs of fatigue, rust, or uneven tension that could lead to a "half-punch" scenario during a critical print run.
- Annual: For high-volume San Diego print shops, schedule a professional calibration. A technician can inspect the internal eccentric shafts and timing belts that are inaccessible during a standard die swap.
When to Call Custom Binding Products
Even with a firm grasp of how to replace a binding machine punching die, some mechanical issues require a specialist’s touch. Stop the DIY approach immediately if you notice electrical irregularities, such as flickering displays, tripping breakers, or a distinct burning smell from the motor housing. These symptoms often indicate a failing capacitor or a motor that has been over-torqued by a dull die for too long. Attempting to repair internal electrical components without specialized training can lead to permanent hardware damage or significant safety risks.
Custom Binding Products has supported local businesses with expert on-site maintenance and repair since 1988. We understand that in a busy professional environment, your reputation depends on the tactile quality of your finished documents. When your equipment requires more than a routine part swap, our team provides the steady hand and technical expertise needed to restore your production line to peak efficiency. Schedule your on-site binding machine repair in San Diego today.
Restoring Your Machine's Professional Edge
Maintaining your binding equipment is an investment in the tactile quality of every document you produce. By recognizing the early signs of wear and following a methodical approach to how to replace a binding machine punching die, you ensure that your presentations always reflect the highest standards of craftsmanship. A successful swap relies as much on post-installation calibration and the initial break-in period as it does on the physical installation itself. These steps prevent jagged edges and mechanical strain, keeping your workflow efficient and your output precise.
As an authorized dealer for Akiles, Rhin-O-Tuff, and Tamerica, we provide the precision-engineered parts and technical expertise needed to keep your production line moving. Since 1988, our San Diego-based team has acted as a steady partner for professionals who value reliability and organized efficiency. Whether you need a new die set or expert on-site maintenance, we're here to remove the friction from your finishing process and support your professional success.
Browse Replacement Punching Dies and Parts
Take pride in your equipment's performance and enjoy the confidence that comes with a perfectly executed punch on every project.
Frequently Asked Questions
Can I sharpen my own binding machine punching die?
Sharpening a punching die requires specialized grinding equipment and shouldn't be attempted as a DIY project. While some industry professionals use sharpening pins for minor maintenance, these won't fix mushroomed or deeply nicked pins. Incorrect sharpening usually leads to uneven hole depths and permanent mechanical misalignment. If your die has reached this level of wear, a professional regrind or a full replacement is the only way to maintain precision.
How long should a standard punching die last before replacement?
A standard punching die typically lasts between 100,000 and 1,000,000 pulls, depending on the machine model and the materials you punch. Punching standard 20lb bond paper maximizes this lifespan. However, consistently using heavy stocks like Regency Composition Covers or Clear Acetate Covers will accelerate wear. Monitoring the output for "hanging chads" is the best way to determine when it's time to learn how to replace a binding machine punching die.
What kind of lubricant should I use on my binding machine pins?
Use only high-viscosity die oil or specialized punch lubricants specifically formulated for binding equipment. Avoid standard household oils or spray lubricants, as these are too thin and often migrate into your documents, causing unsightly stains. Proper lubrication reduces friction between the pins and the die plate. This ensures a smooth retraction and prevents the pins from overheating during high-volume production runs.
Why is my binding machine punching oval holes instead of round ones?
Oval holes are a clear indicator of worn guide holes or bent punch pins. When the internal tolerances of the die assembly widen through excessive use, the pin "wobbles" as it strikes the paper. This lack of stability results in an elongated hole rather than a crisp circle. Since this is a sign of physical metal fatigue within the die set, a full replacement is usually the only way to restore factory-level precision.
Will replacing the die myself void my machine warranty?
Replacing an interchangeable die set typically won't void your warranty, as these machines are engineered for user-level swaps. Brands like Rhin-O-Tuff and Akiles design their "quick-change" systems specifically for this purpose. However, if you're performing a deep-level repair on a fixed-die unit that requires opening the main motor housing, you should consult your warranty documentation first. Professional on-site service remains the safest choice for protecting your investment.
What should I do if a punch pin gets stuck in the "down" position?
If a pin becomes stuck, unplug the unit from the power source immediately to prevent motor burnout. Check the die throat for accumulated paper debris or a "doubled-up" sheet that might be wedging the pin in place. If the throat is clear, the issue is likely a fatigued return spring or a lack of internal lubrication. Don't attempt to force the handle or drive assembly, as this can bend the eccentric shaft or damage the drive pins.
How do I know if I need a new die or just a machine calibration?
Jagged or torn holes across the entire document indicate a dull die, while incomplete punches on only one side of the sheet often suggest a calibration or alignment issue. If the machine sounds healthy but the holes look poor, the die has likely reached the end of its life. If you're unsure about the diagnostic, learning how to replace a binding machine punching die can help you test a fresh unit to see if the performance issues persist.
Does Custom Binding Products offer on-site die replacement in San Diego?
Custom Binding Products provides comprehensive on-site repair and maintenance services for businesses throughout the San Diego area. Our technicians handle everything from routine die swaps to complex electrical diagnostics on heavy-duty equipment. Since 1988, we've acted as a reliable specialist for local firms, ensuring their finishing departments remain operational. If you're uncomfortable performing a swap yourself, our team can manage the entire process at your location.
Recent Posts
-
Upgrading Your Office Binding System: The 2026 Professional Guide
Did you know that switching from a manual punch to an electric binding machine can save your team …Jun 27th 2026 -
Professional Wire Binding Supplies in San Diego: Your 2026 Essential Guide
Imagine handing a potential client a thick, high-value report, only for the pages to snag because …Jun 26th 2026 -
Best Binding Method for Professional Reports: A 2026 Executive Guide
The physical feel of your document often speaks louder than the data on the page. In a high-stakes …Jun 25th 2026